Getting Started
This guide will help you set up and start using Vox for the first time.
Installation
macOS
- Download the latest version from usevox.app
- Open the downloaded
.dmgfile - Drag Vox to your Applications folder
- Launch Vox from Applications or Spotlight
Windows
- Download the latest version from usevox.app
- Run the downloaded
.exeinstaller - Follow the installation wizard
- Launch Vox from the Start Menu or Desktop shortcut
Initial Setup
When you first launch Vox, you'll see the welcome screen:
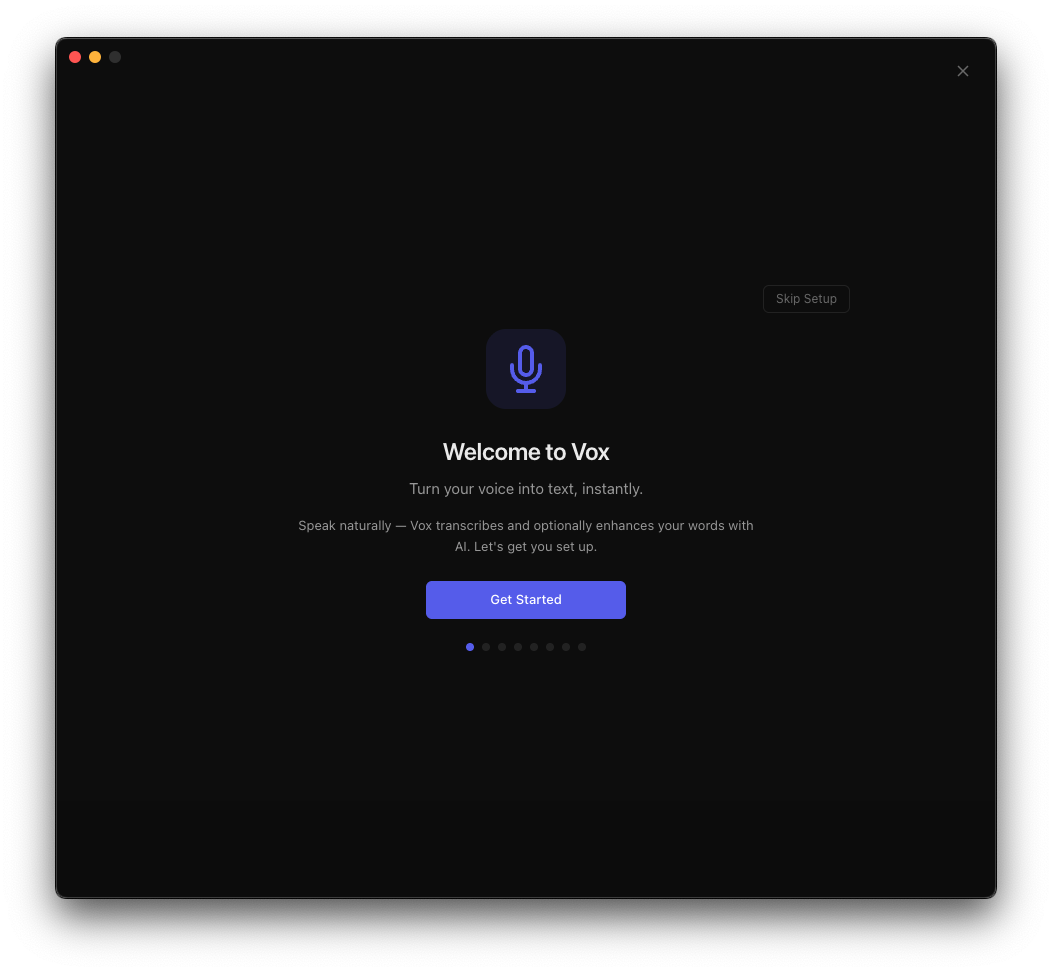
Click Get Started to begin the setup process.
1. Grant Permissions
Vox requires three system permissions to function:
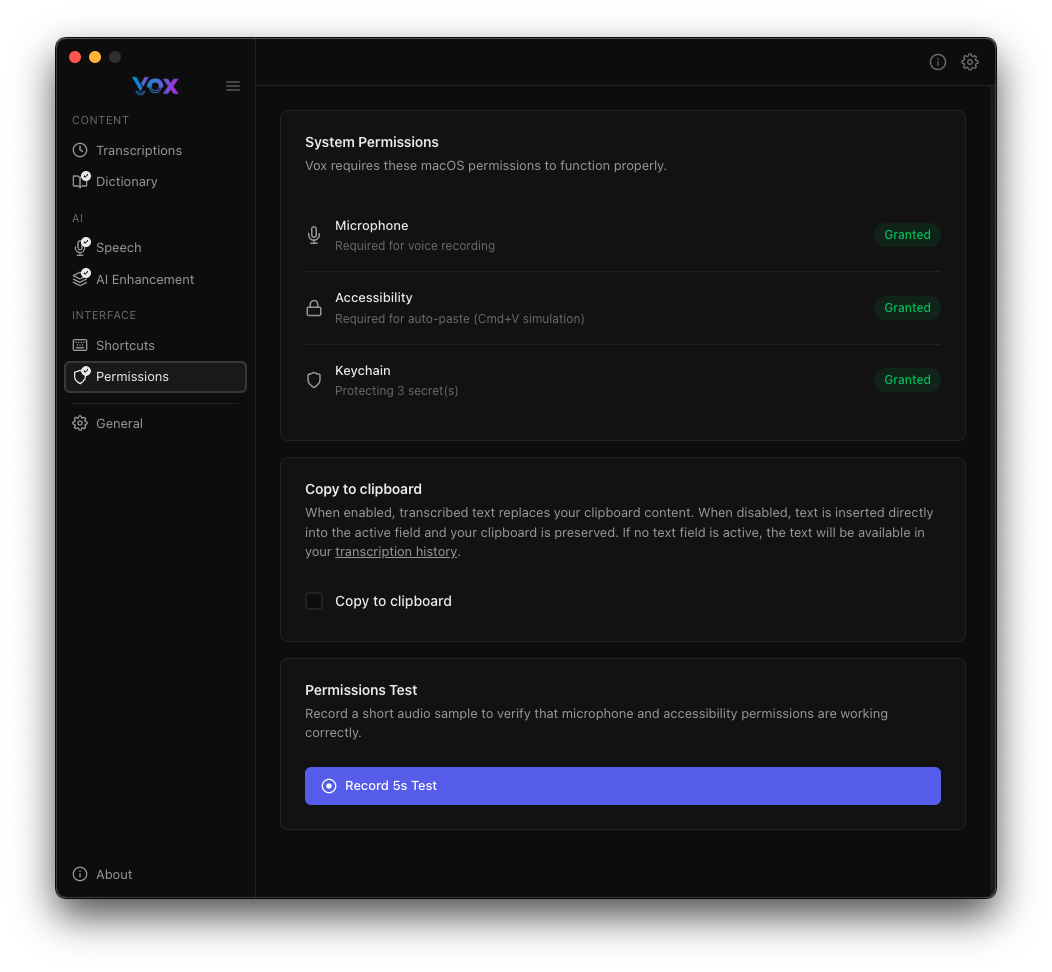
- Microphone: Required to record audio for transcription
- Accessibility: Needed to paste transcriptions into active applications
- Keychain: Used to store API keys securely (if using AI enhancement)
Click Record for Test to verify that permissions are working correctly.
2. Download a Speech Model
Vox uses Whisper models for local speech recognition. Navigate to Settings → Speech to download a model:
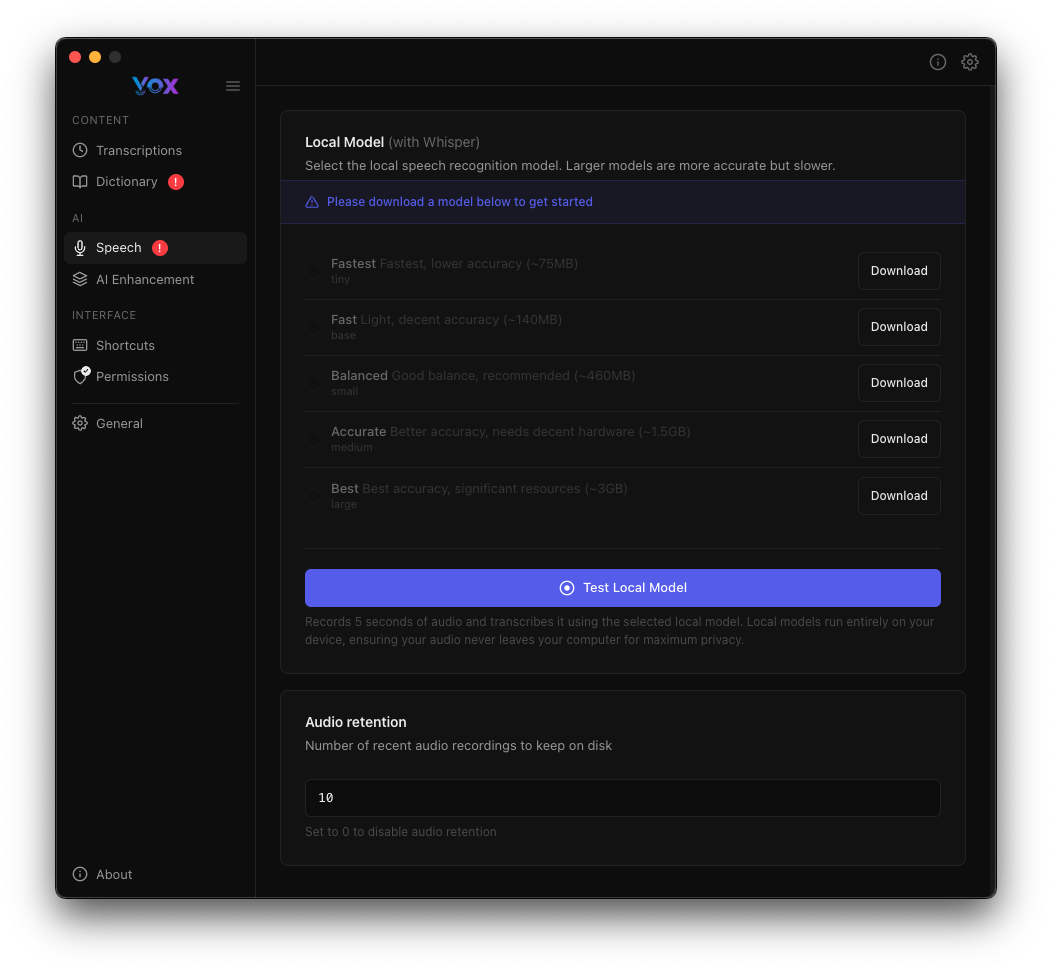
Available Models
- Fastest: Smallest model, fastest processing, lower accuracy (~75MB)
- Fast: Good balance of speed and accuracy (~150MB)
- Balanced: Recommended for most users (~480MB)
- Accurate: Best accuracy, slower processing (~1.5GB)
- Best: Highest quality, requires significant resources (~3GB)
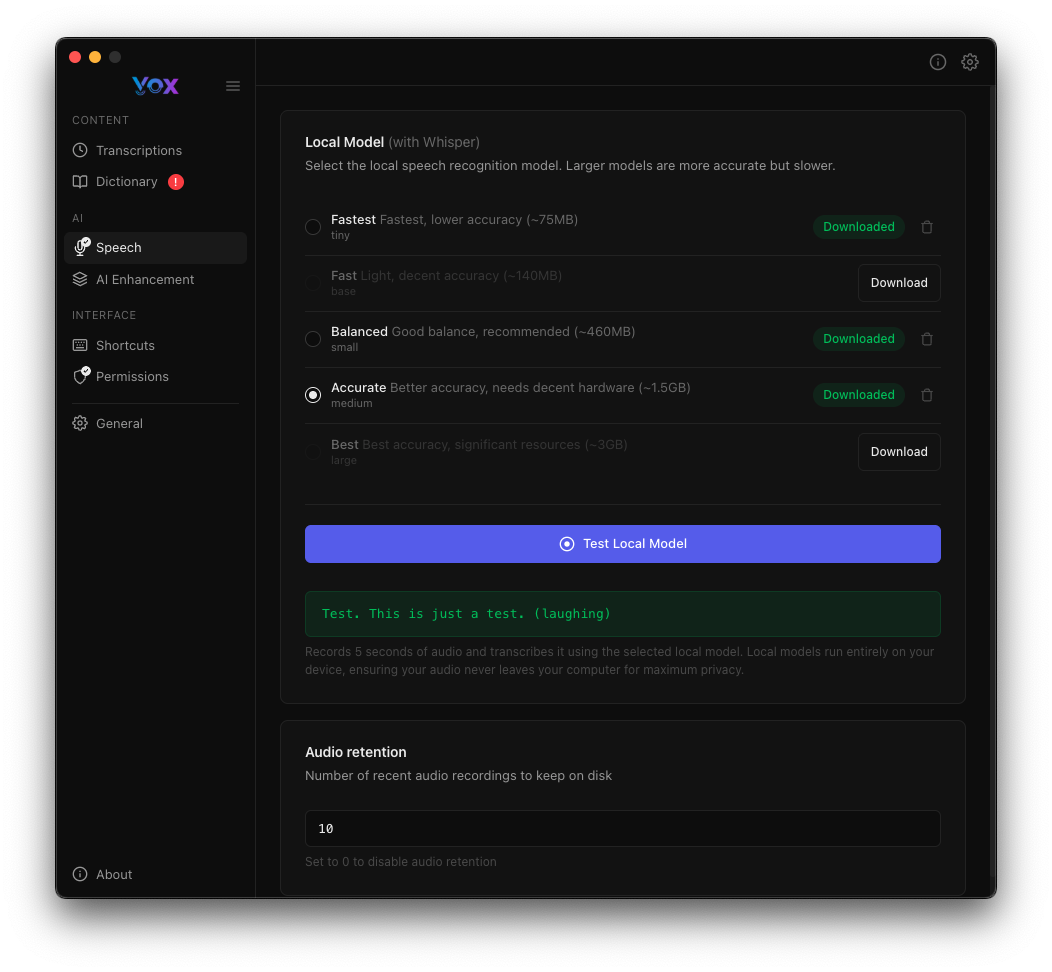
Recommendation
Start with Accurate for the best balance of quality and performance. You can always download additional models later.
Click Download next to your chosen model, then click Test Local Model to verify it works:
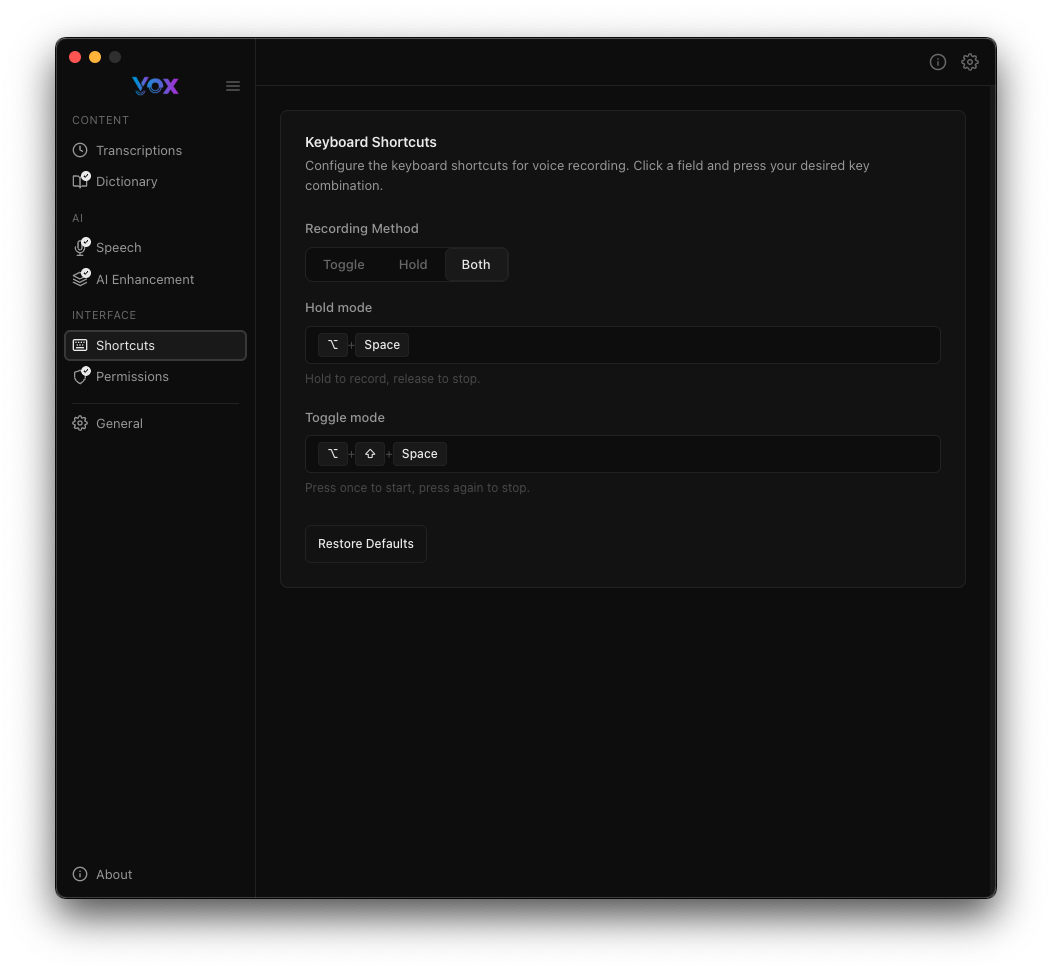
3. Configure Keyboard Shortcuts
By default, Vox uses:
⌘ + Space(Hold mode): Hold to record, release to stop⌘ + ⌥ + Space(Toggle mode): Press once to start, press again to stop
You can customize these in Settings → Shortcuts:
Basic Usage
Recording Your First Transcription
- Click the Vox icon in your menu bar or use your recording shortcut
- Speak clearly into your microphone
- Release the key (hold mode) or press the toggle key again to stop
- The transcription will be automatically pasted into your active application
Viewing Transcriptions
All your transcriptions are saved and can be viewed in the Transcriptions section:
Click on any transcription to:
- Copy the text
- View the original audio
- Add words to your dictionary
- Delete the transcription
Next Steps
Now that you have Vox set up, you can:
- Configure AI Enhancement to improve transcription quality
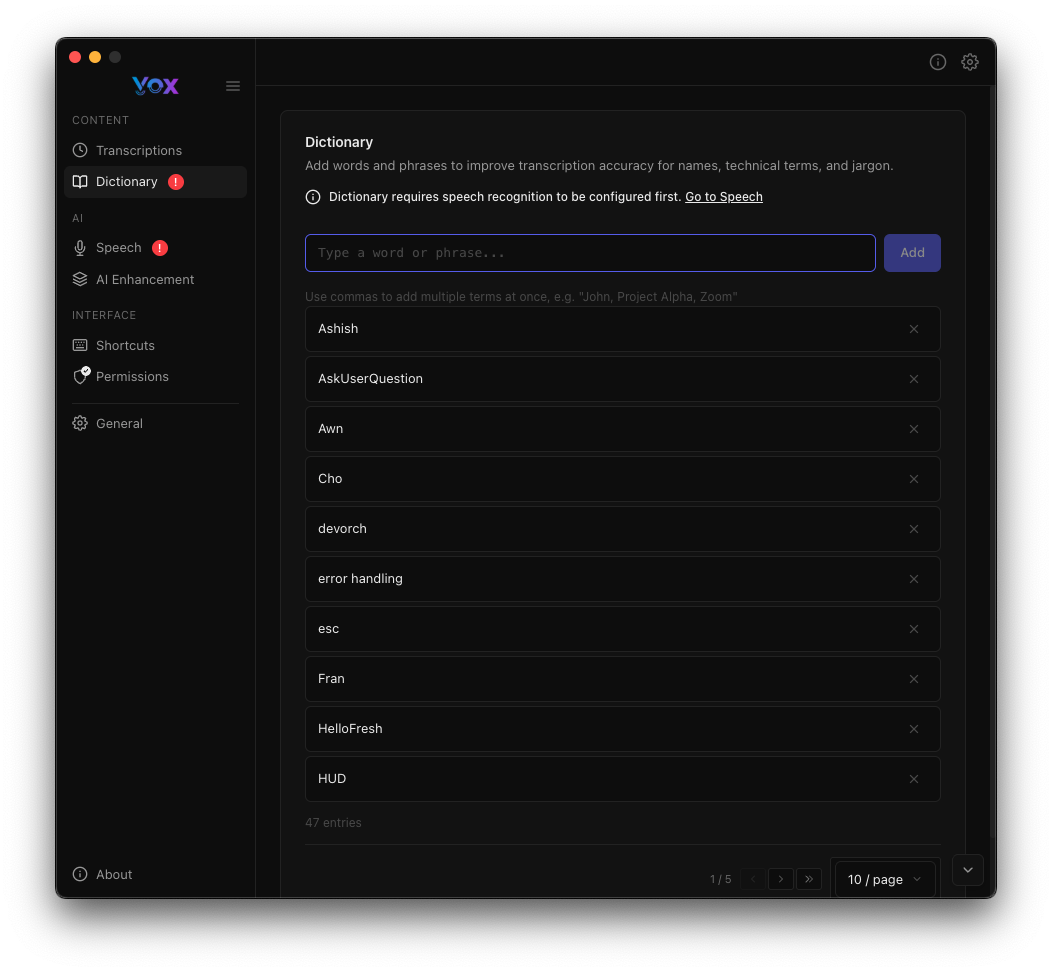
- Add custom words to your dictionary
- Customize the HUD position and appearance
- Adjust recording feedback sounds
Troubleshooting
Microphone Not Working
- Check Settings → Permissions to ensure Microphone access is granted
- Verify your microphone is selected as the input device in System Preferences
- Test with Record for Test button
Transcription Not Pasting
- Ensure Accessibility permission is granted
- Check that the target application accepts text input
- Try pasting manually with
⌘ + Vafter recording
Model Download Failed
- Check your internet connection
- Ensure you have sufficient disk space
- Try downloading a smaller model first
For more help, visit the GitHub repository or report an issue.